Friday 23 March 2012

Hi Girls...
Almost the end of another busy week....The days are just flying past...

Today we have a great prize pack kindly donated by the Girls at Flourish with a Bling...Everyone that makes a purchase from the Flourish with a Bling Collection from Sassy Scrappers, will go into the draw to win this magnificent pack valued at just over $37.00...WOW !!!!!


We will draw a winner next Friday - 30th March (evening)...

Thanks and have a wonderful weekend !!!!!
Olga..xxx

Monday 19 March 2012

Bo Bunny -Country Garden


Happy Monday Everyone.....Another busy week ahead, with lots of new stock arriving...
The talented Georgia has been busy creating lots of new layouts and designs for us and we thank her so very much for all her hard work...
Below, she has created another layout using the Bo Bunny Country Garden Papers and Embellishments...Sensational is all I can say...
Definately a layout I would love to have a go at...Its amazing....
Enjoy and Happy Scrapping
Olga..xxx


Thursday 15 March 2012

Hi Girls,
I hope you are all having a great day...
Just letting you know that we have a special Postage offer on at the moment..$5.00 postage on all orders and FREE FREE FREE Postage on all orders over $75.00...This postage offer ends at midnight on Sunday...
Thanks & Happy Scrapping
Olga..xxxx

Tuesday 13 March 2012

Step-By-Step Background Tutorial

Goodmorning Everyone,
I hope you have had a great long weekend with lots of enjoyable scrapping...
What a great start to the week....We have this morning, another magnificent Step by Step project on the Blog, created by the talented Georgia using Bo-Bunny Country Gardens...
I love looking at this layout with its gorgeous blend of colours..I hope you enjoy it also..
Have a great week..
Olga.xxx

From Georgia:

Here is another layout I have done with the gorgeous Bo Bunny Country Garden range. I will show you how  I created the background for this layout.

To complete this background you will need:

Bo Bunny Noteworthy
Gesso
Water Spray
Paint Brush
Slow Drying Glue


Firsty I have torn approximately an inch from around the edges of the Almanac paper and then curled the edges back with a paper distresser.


I have then applied a layer of slow drying glue with a brush to the Weather Paper.


I have then sprayed the edges of Almanac paper with my water spray until slightly soggy so I am able to manipulate it. Place onto the Weathered Paper and starting pushing the corners and edges in giving a crinkled effect.


This is how it should look. Don't worry if the paper tears slightly during this process as it will add to the distressed look. Slow drying glue is important as you will need a minute or two to work the paper before it dries.


Let dry naturally then dry brush a light layer of Gesso over the visible Weathered paper border and to the edges of the Almanac paper, graduating softly about 2 inches in. Let dry naturally.


Once dry you are free to start adding your layers. I have used different elements from the Country Garden Noteworthy pack, Cutout Paper and Combo Stickers. 


I have added some Prima & Kaisercraft blooms, Bo Bunny Country Garden Trinkets & Jewels for a bit of bling.


I have used a large sticker from the Country Garden combo sticker for my title and layered with some vintage lace. Once you have your page assembled, go over the edges of your elements and flowers with Gesso. And now your page is complete!


Thursday 8 March 2012

Basics Layout Tutorial - Adding Dimension

Hi Everyone,
Its Olga here....I am so proud to present our first Step by Step- Basic Layout Design created by the ever so talented Georgia...She has created this magnificent layout using the Bo Bunny -Country Garden Collection in great detail for us all to follow and she has included some great tips and ideas to add dimesion to your layouts..
All the papers and embellishments that she has used are available on the website..http://www.sassyscrapper.com.au/
Great work Georgia..xxx

Happy Scrapping
Olga..xxx


From Georgia:
I wanted to demonstrate some basic techniques that can add dimension to a simple 2-D layout. So first I will start off by showing you how I created the basic version of my layout.


To create the basic layout you will need:

1 x Bo Bunny Country Garden Combo stickers
1x Flower from Manor Flowers 
1 x Chipboard Flourish


1. I have cut a 11" x 3" strip from 'Garden Letters' and a 4" x "9 strip from the reverse side of 'Garden Dot'  , inked the edges using my blending tool with distress ink and placed on my backing page which is 'Garden Stripe'.


2. Cut a 8.5" circle from the remainder of  'Garden Letters' and a 4.5" x 10" rectangle from 'Garden Dot'. Ink edges again.


3. Cut a 9" x 2.5" strip from 'Weathered' with the butterflies at bottom of the strip. I have traced around one of the shaped die cuts from the 'Noteworthy" pack, cut around it and inked the edges.


4. Cut out one of the 6" x 6" elements from the 'Cutouts', inked and placed at an angle. I have then added a chipboard flourish. The A2Z doodlets are perfect for this.


5. I have added my photo, title from the 'Combo Stickers', a butterfly from the 'Noteworthy' pack and a smaller butterfly cut out from 'Weathered'.

So that is our basics layout completed. Now I thought I would show you a few techniques to help create dimension that you can apply to any layout.

Adding Dimension

 Use punches to create shape in your paper layers. Here I have used just a small corner punch however there is a huge range available that can go right around a page to creating detailed strips. I love the Martha Stewart range for both quality & design.


Masking is a really simple and fun way to add dimension. There are lots available on the market or you can get creative and create your own with chipboard or die cuts. Here I am using a paper doily with ink. You can also use mists or paint dabbers.


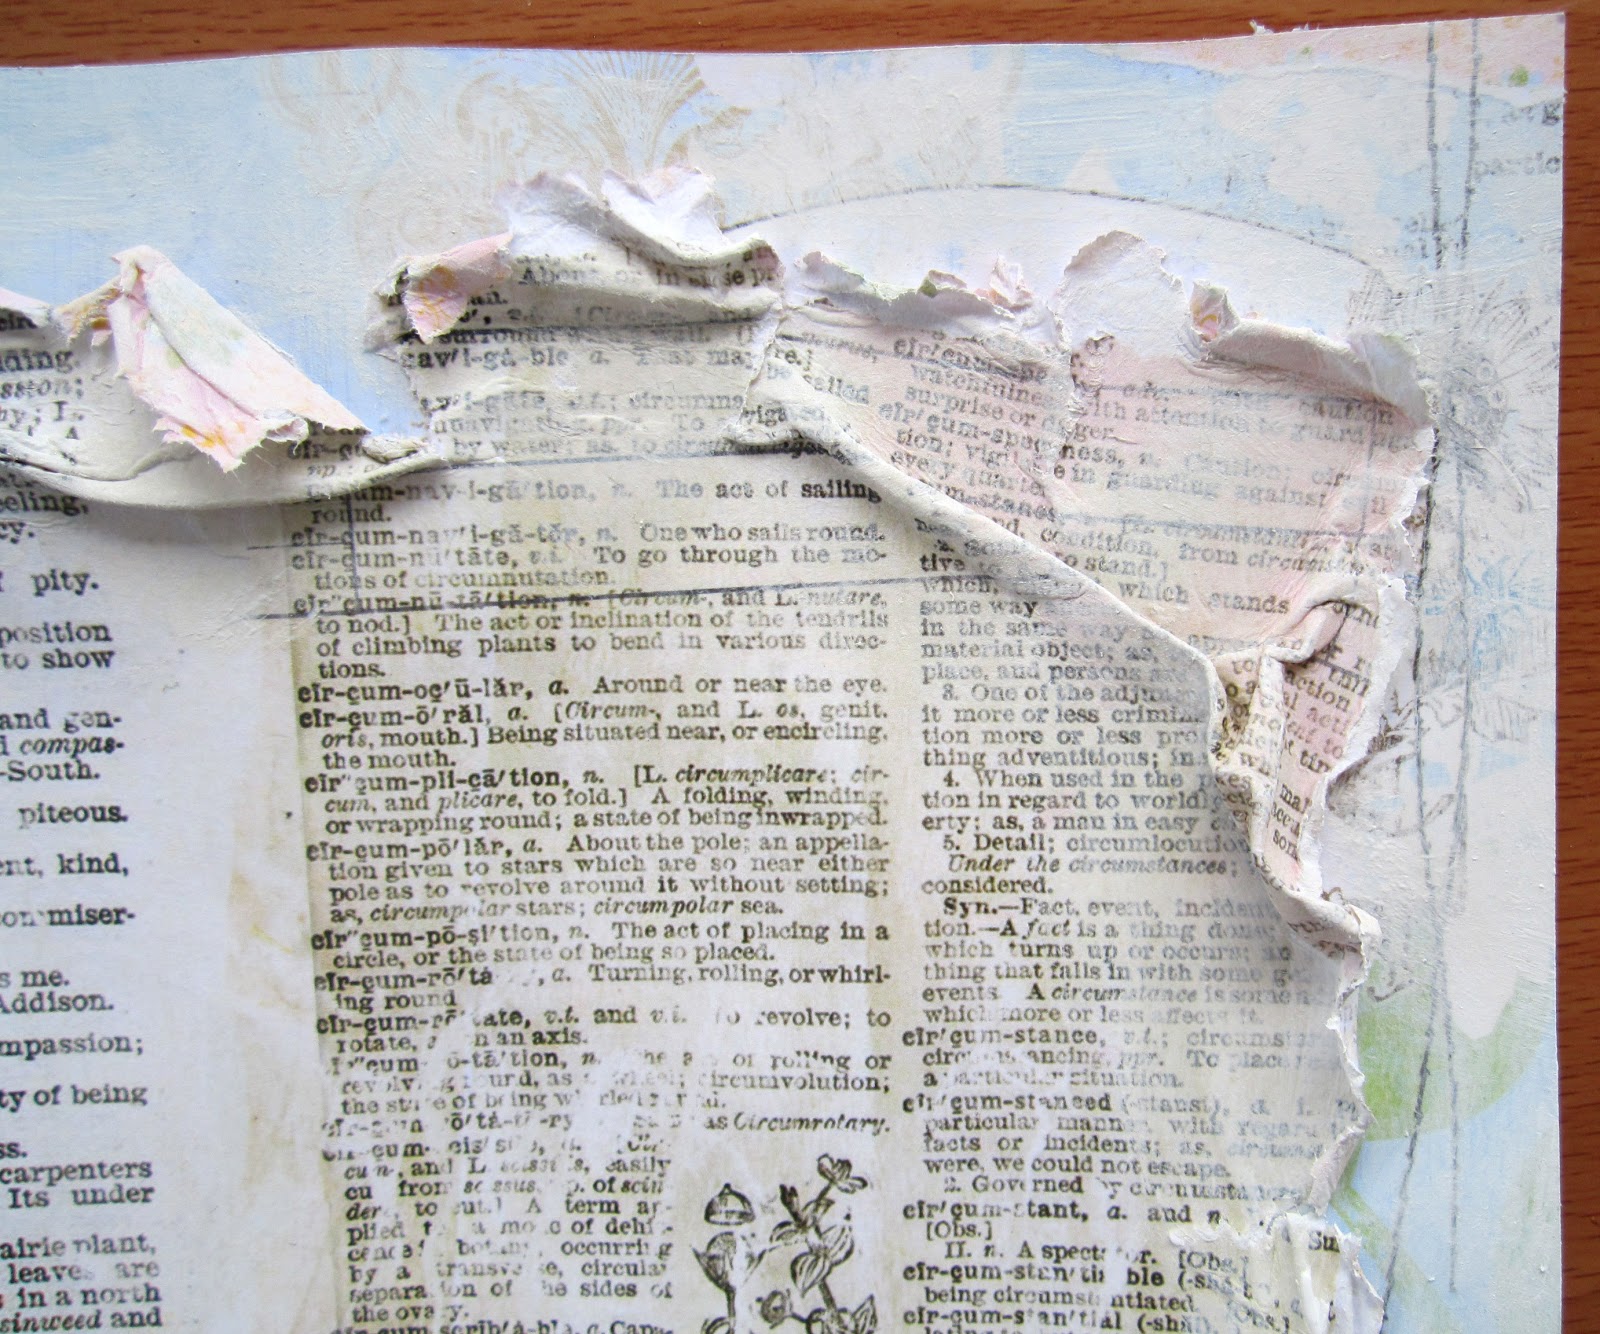
Stamps! I know stamps can make beginner scrappers nervous as once they are on, there is no going back. You can always stamp your image onto acetate first which will allow you to play with placement on your page before making it permanent. Also distressing...a super easy and free way to not only add dimension but texture too. I have also been inspired by the stitching print on my background paper and added a zig zag stitch to my border creating texture.


Go 3-D! Instead of just gluing your elements down, try adhering with self adhesive foam dots or tape. This will help lift your elements off the page. Use 3-D embellishments. Here I have added a beautiful Manor House flower and also bent the wings of my butterfly upwards to create the appearance of movement.

So here is before and after...


I hope you have found this helpful and have lots of fun creating!

Thursday 1 March 2012

March Sketch Challenge


Hi girls, Georgia here! Thank you so much Olga for your warm welcome. I am very excited to be joining the Sassy Scrapper team and can't wait to share lots of projects to keep your creative juices flowing!

This month I will be showcasing and creating tutorials using the new Bo Bunny Country Garden Range which has just arrived in store. It is just the most beautiful range and so easy to create with! So to kick off the month we have another fabulous sketch challenge. Up for grabs is a $20 voucher to spend in store. You have until March 31st to enter. Simply leave a link to your blog or photo gallery in our comments section and you could be the lucky winner. I can't wait to see what you all create!


And here is my take on this months sketch using the Bo Bunny Country Garden range.


     Products:

Take Care 
Georgia xox
09 10