Thursday 30 November 2017

The Best Days by Farrel Tailor

Good Morning Sassy Lovers!! Today is my last DT post and I would just like start off by thanking Olga for asking me to join her amazing team... what started out being for only 3 months ended up lasting 9 months and I have truly enjoyed every minute of it. And I would also like to thank all the Sassy Fans that have followed me over the last 9 months - you're the best!!

So let me show you what I created and how I went about it....

main image

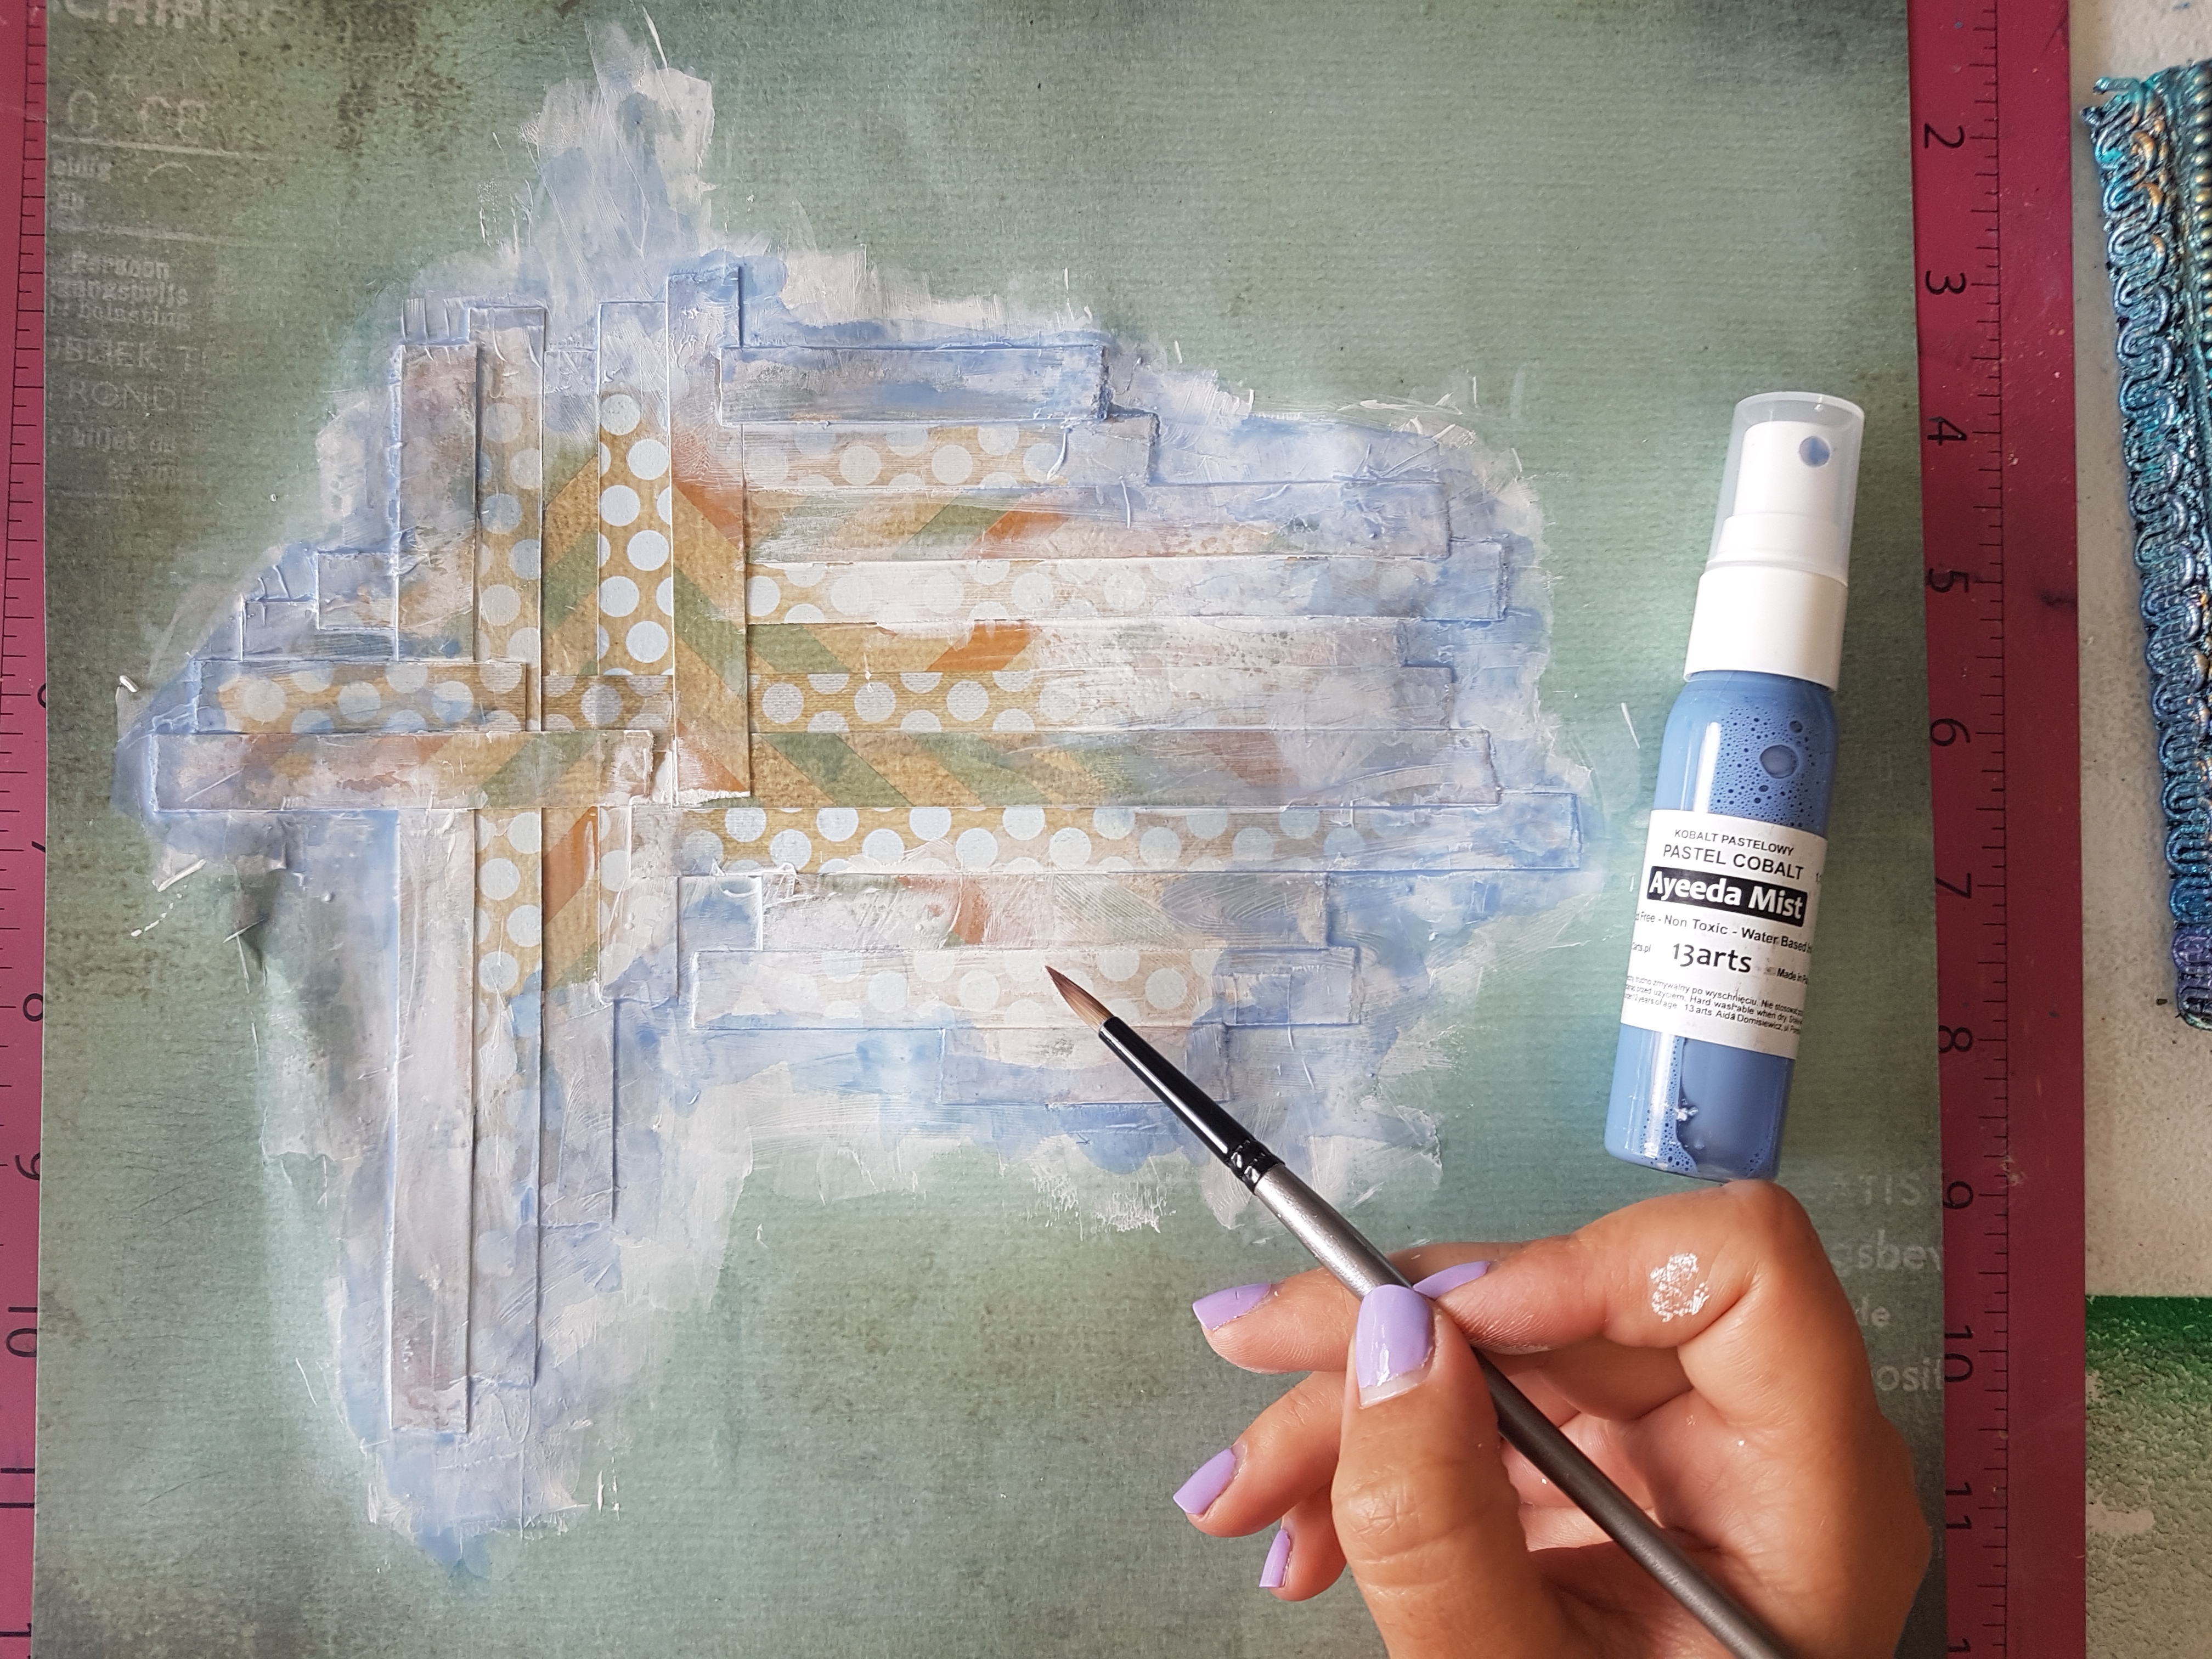
I started by cutting 7 strips of Glitz Design pp - Sunshine in my Soul - Stripe and adhered the 7 strips onto to Glitz Design - Sunshine in my Soul - Suns.

20171118_111139

I then used white gesso with my 1" Silicone Brush to highlight the paper cluster and to also seal before I added the sprays. I also used my finger to lightly rub white gesso around the edges of my photo.

20171118_111337

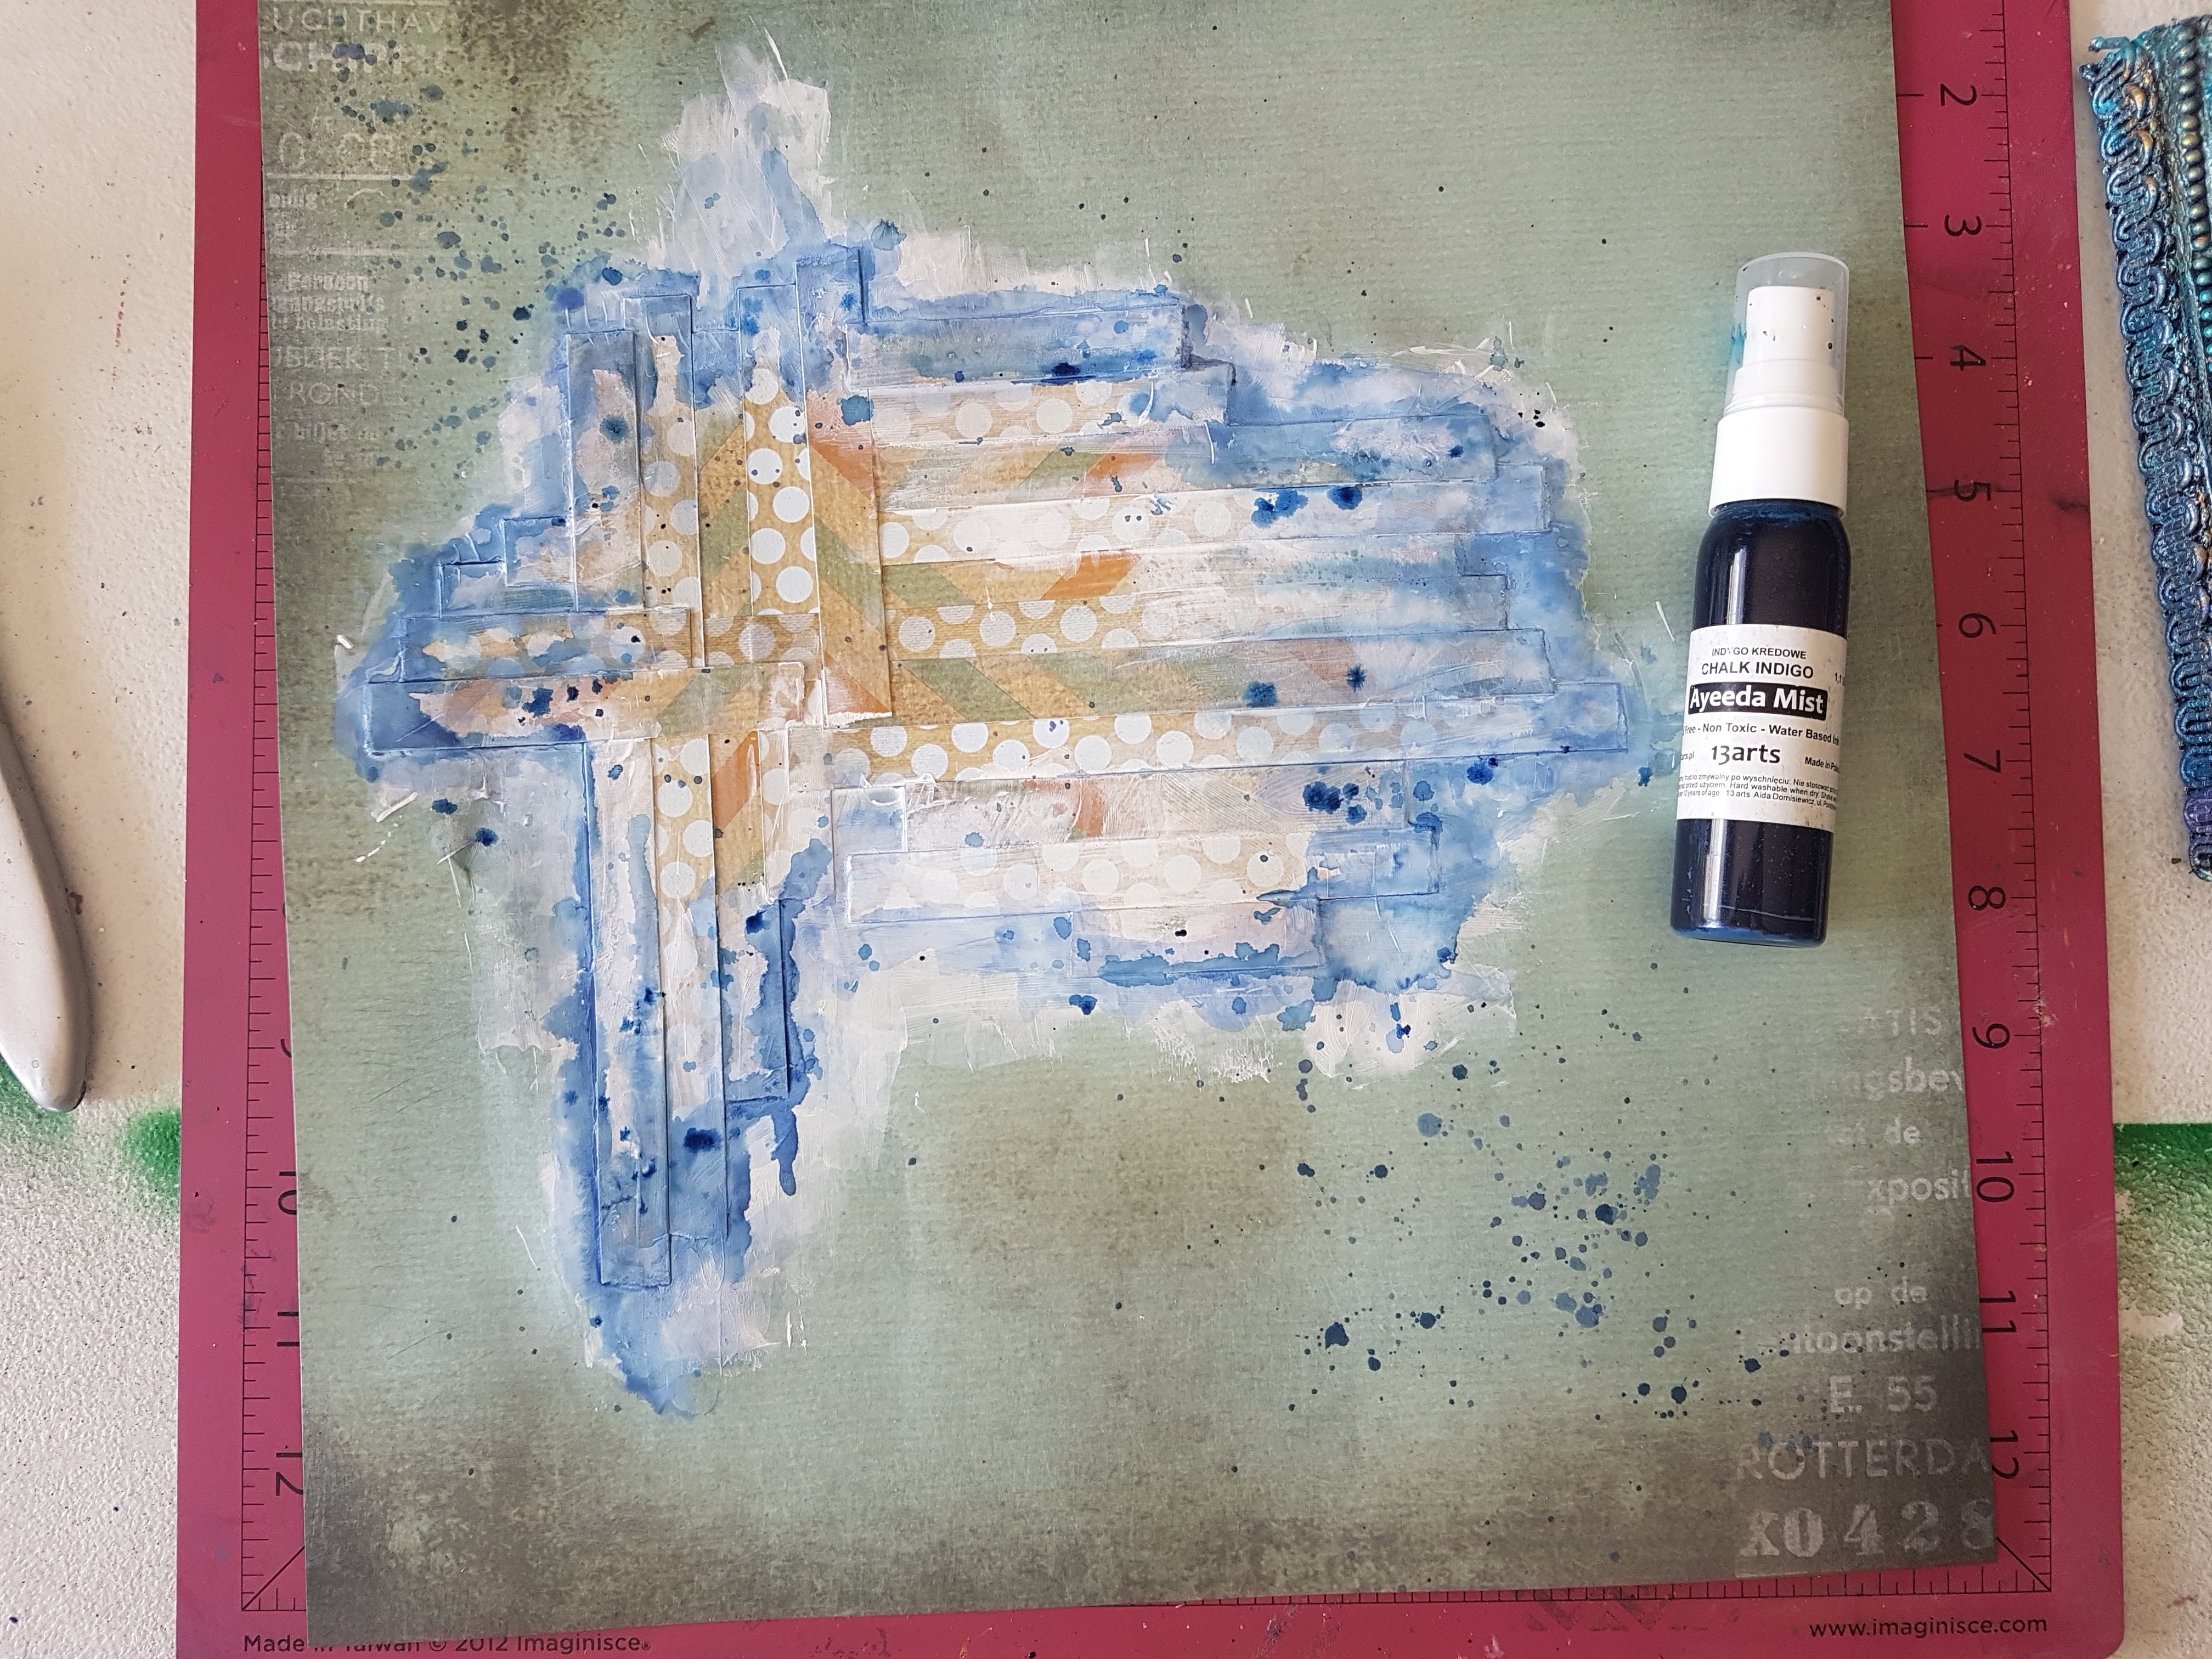
Once dry I then started to apply my colours to the background. Using a wet paint brush I applied 13arts Ayeeda Mists - Pastel Cobalt, then Chalk Ultramarine and to finish I used Chalk Indigo. Making sure I dried between colours.

20171118_114638

20171118_115308

And it wouldn't be me with some splattering!! I used all 3 blues for the splatters.

20171118_115357

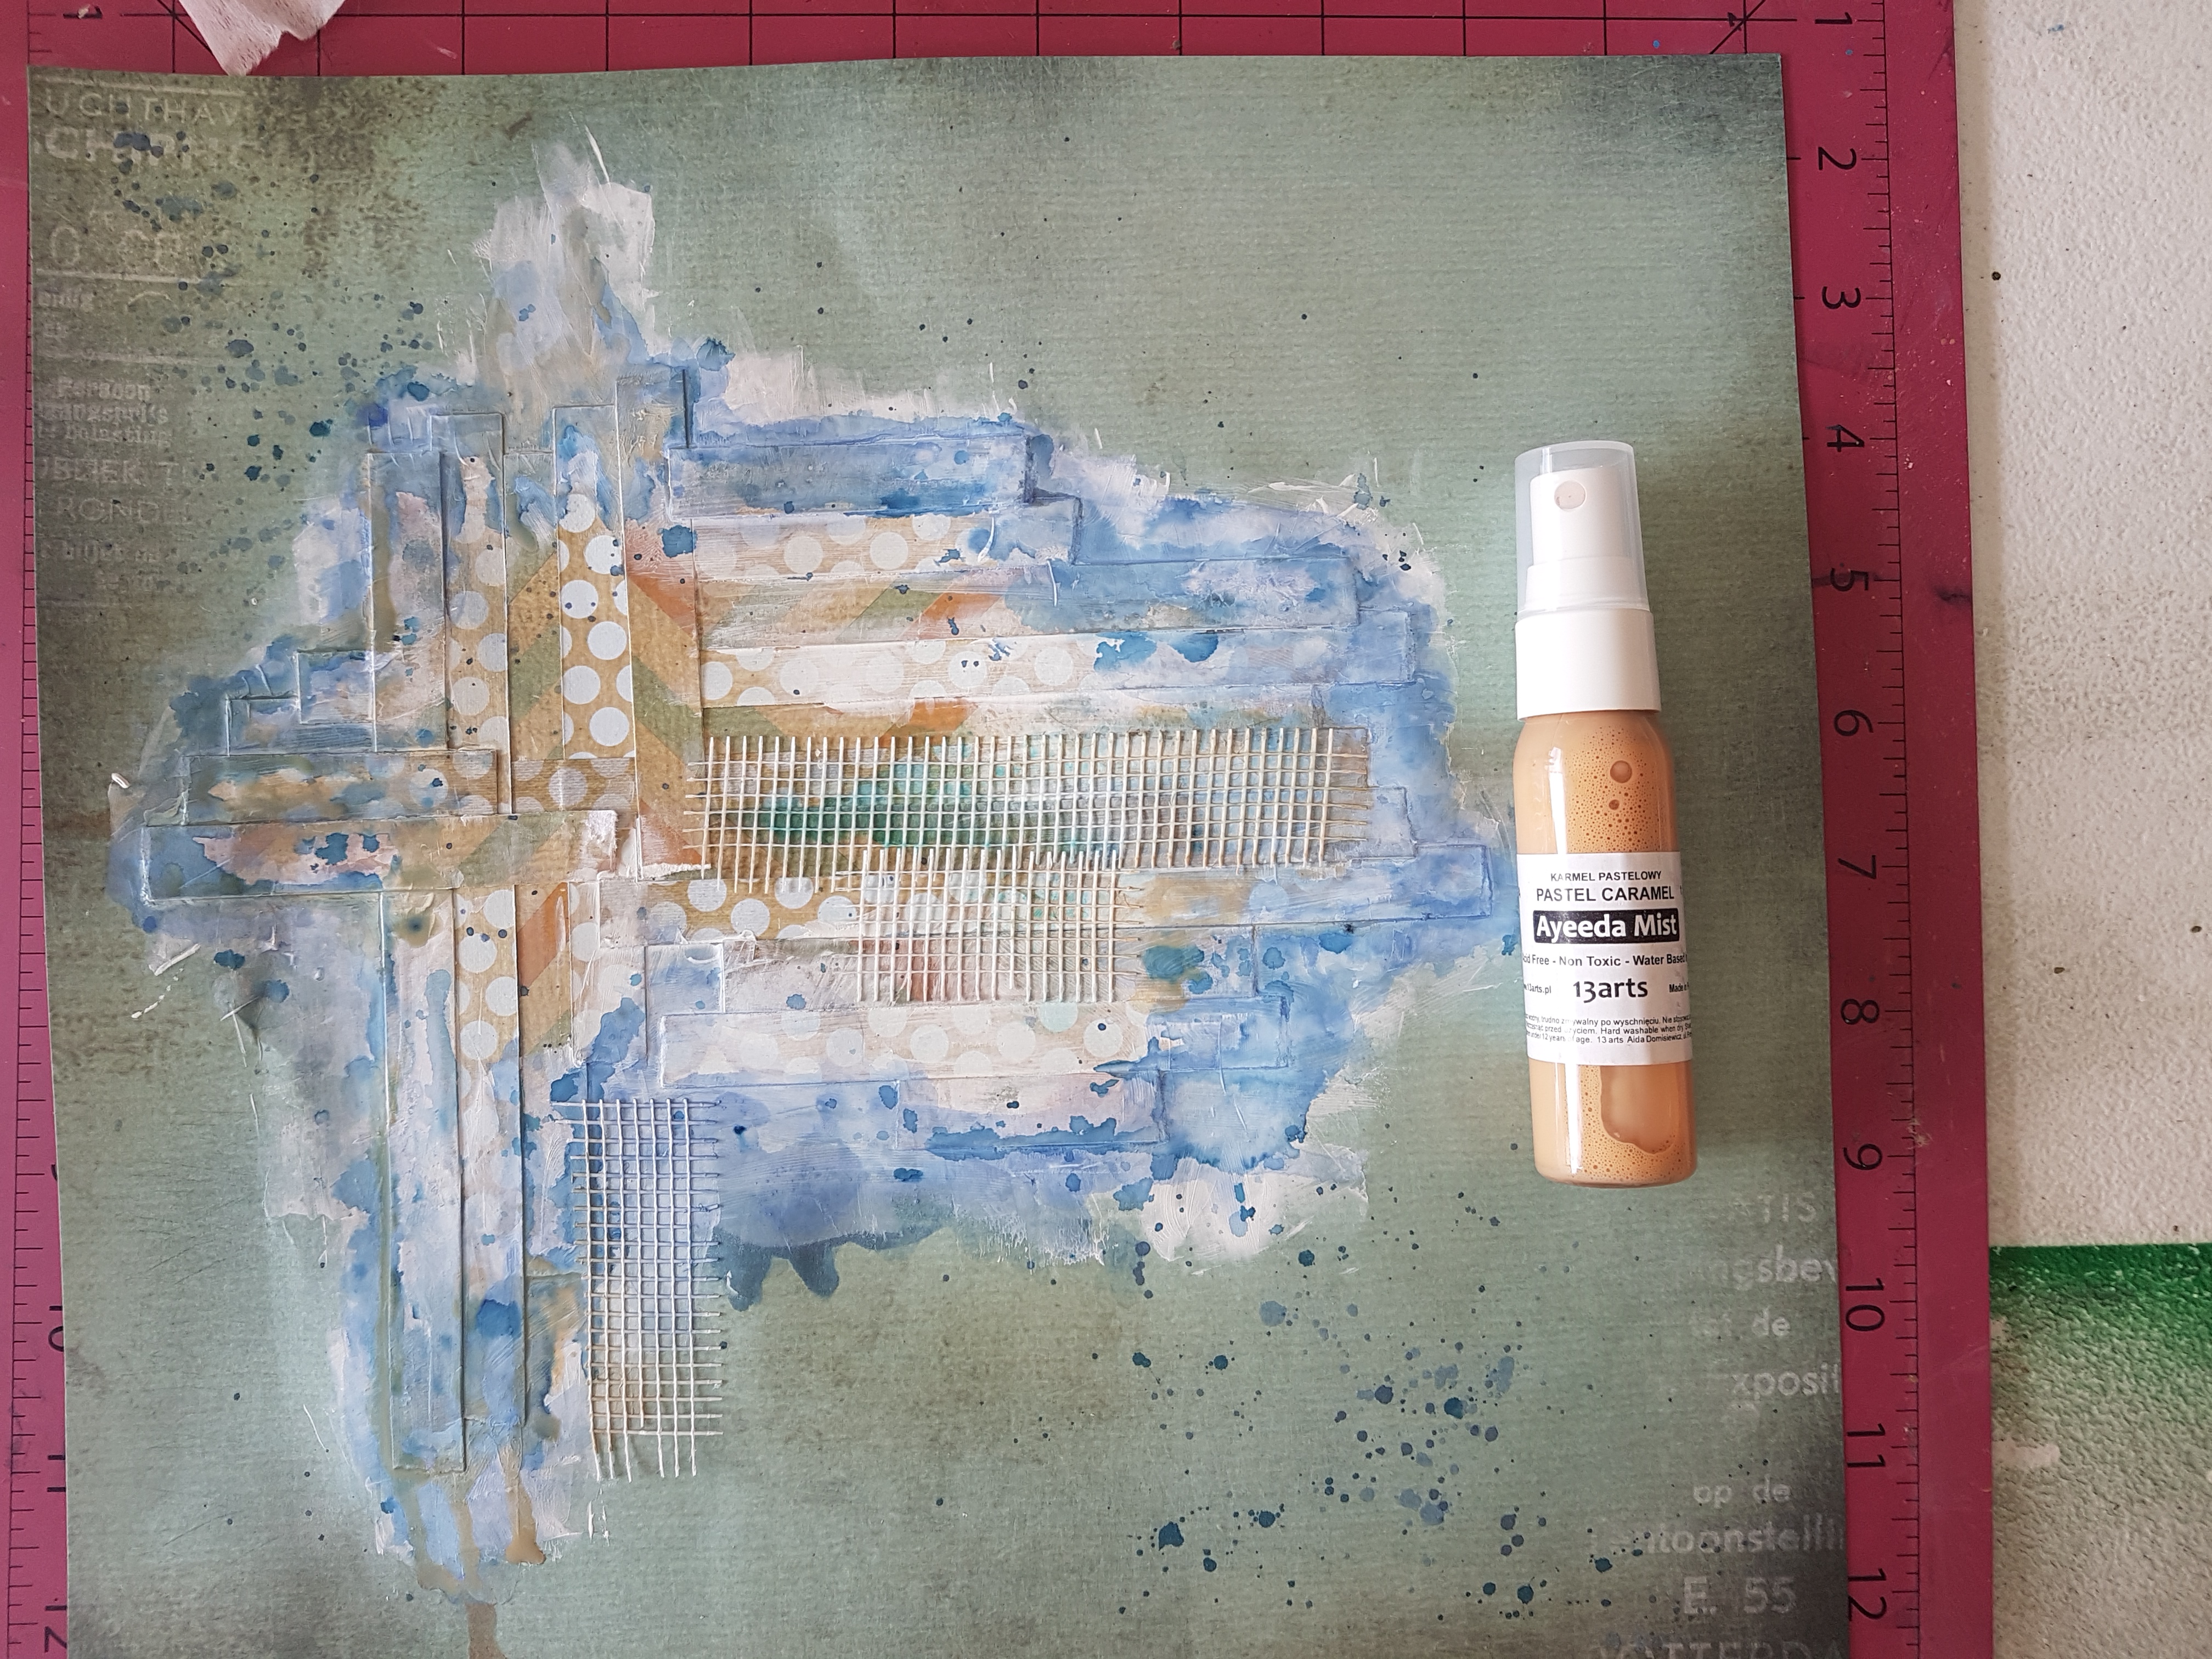
Next I applied 13arts Ayeeda Mist Pastel Caramel just to highlight some areas and then added some builders tape for a little bit of texture. (I bought this tape from my local hardware store)

20171118_120728

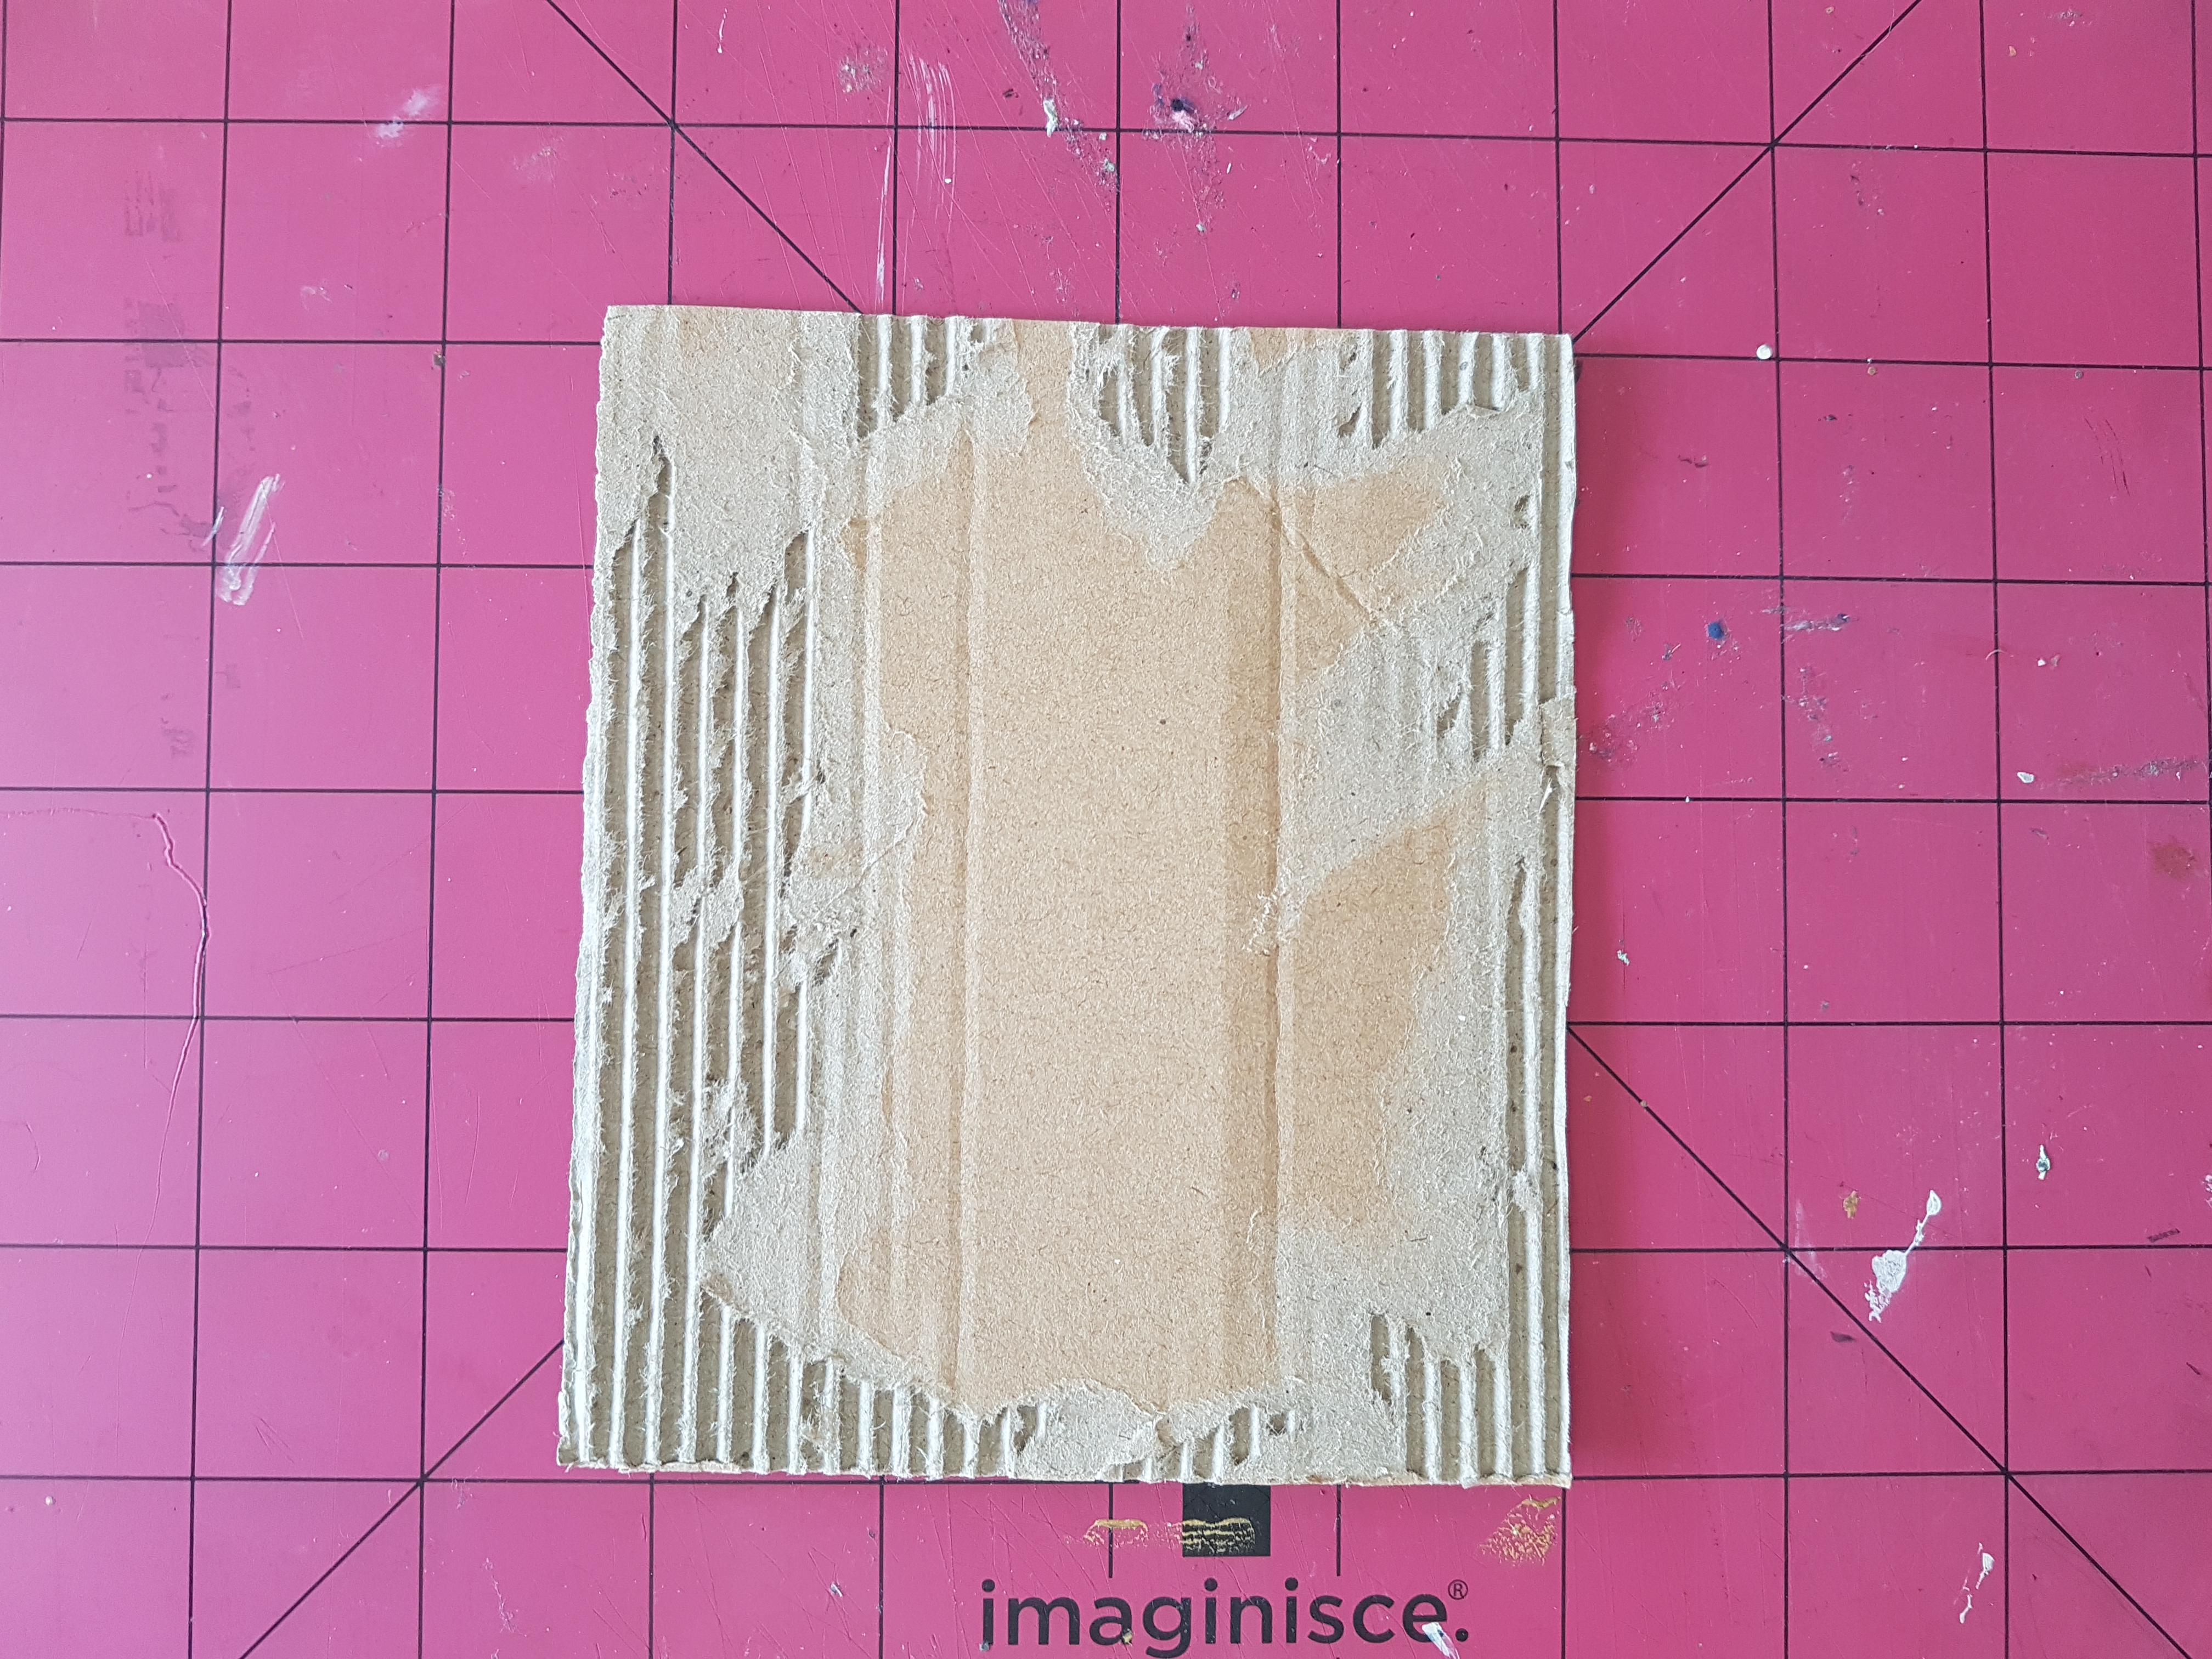
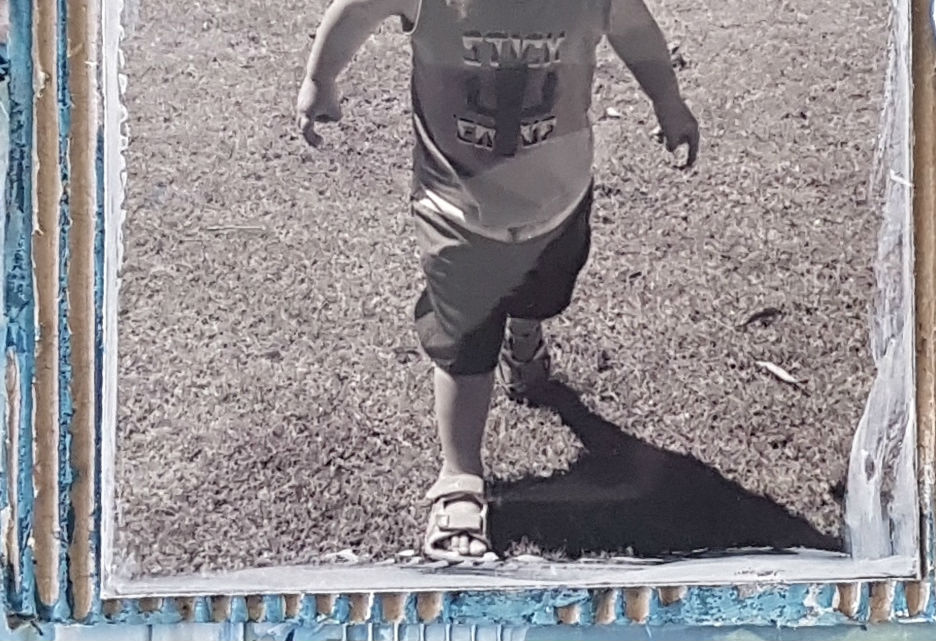
Now for the photo mount - I used some cardboard from a packing box and ripped the first layer off. I then rubbed white gesso around the edges and using a wet brush I applied a small amount of 13arts Ayeeda Mist Chalk Indigo.

20171118_112458

20171122_132316

I then added some stickers from Pinkfresh Studio - Escape the Ordinary range and doodled around the stickers and the background paper with a black paint pen. To finish off the layout I added some stamping, cotton thread in blue and tan and a flair from my personal stash.


Thanks for dropping by and again thank you for all your support this year. xx


Friday 24 November 2017

25 | Crate Paper | Fa La La | Tarrah McLean

Hi there Sassy Scrappers!

It's Tarrah McLean back with you and today I would like to share a new scrapbook layout created using the gorgeous, festive Crate Paper Fa La La La La collection!


I started this layout by having just the top paper as my background, but once I had finished the page I felt it needed something else so I decided to trim down that paper and I added the green paper as my background. I like how it adds a bit more colour to the page!  

Because my son is holding the star for the top of the tree in this photo, I knew I had to add that gorgeous gold glitter star to the top of the photo. I also picked the star background paper as it matched so well with the photo!

I absolutely LOVE that '25' ephemera piece, this piece makes the perfect title for this layout too! That cute bird is from the 12 x 12 chipboard sheet, I added lots of ephemera pieces to embellish this layout!

Thank you so much for stopping by the Sassy blog! Make sure to check out the Sassy store if you would like to purchase some Christmas craft supplies, I highly recommend visiting the Sassy store - there are some amazing products to purchase in store!

Happy creating!


Fa La La Chipboard Stickers 12"X12" W/Gold Glitter (more on order)         Fa La La December Double-Sided Cardstock 12"X12"

  Fa La La Ephemera Cardstock Die-Cuts 40/Pkg W/Gold Glitter       Fa La La Mistletoe Double-Sided Cardstock 12"X12"

Wish Season Flair Pack 8pk

Monday 20 November 2017

Pocket Pages with Agnus | Pinkfresh Studio | December Days

Hello again :) with Christmas fast approaching I am feeling festive and thought it was a good time to start planning out my December documenting with a beautiful collection of Christmas themed products from Pinkfresh Studio's December Days collection. 
While I am not doing a traditional December Daily album that marks specific days during the month, I still want to document all the festivities and am making cards and inserts ahead of time that will be ready for our photos and stories in our project life album once December comes. As I did last year I will be marking the start of the festivities with a title page and am using a 6x8" insert featuring a simple tree shape that I cut from some gorgeous gold foiled vellum


I backed the tree with white cardstock and attached some small gold foil stars from the die-cuts pack, along with a cute bird from the puffy sticker sheet, a couple of cardstock sticker strips and one of the adorable wooden buttons and added a sprinkle of white ink over my cardstock background


Using one of patterned papers from the 6x6" paper pack over some navy cardstock, the reverse side of my insert is ready for a photo to slot inside a chipboard frame. The frame originally featured a winter bird in the lower right hand corner but I decided to remove the bird and layered a couple of tree shapes in it's place. 


The chipboard frame are also great for adding photos or journaling onto 4x6" cards. Picking up the gold accents from this collection I have also added some gold foil cardstock from a different brand to add more warmth to the collection.  
I used a needle and thread to string on some cute puffy sticker baubles, securing the thread on the reverse side of the card with tape and love the way the baubles hang on the card.

Keeping things simple is the key to making this project work, and using a section from the 12x12" cut apart sheet with just a few small accents was all it took to create a quick and easy filler card. 


I have also decorated a couple of the 3x4" cards from the collection, using a more puffy stickers, another wooden button and die-cut word to dress up my cards. I added a simple circle shape cut from gold foil cardstock to help me ground the reindeer onto the top card. 


 Products from the Sassy store...


Friday 17 November 2017

Remember | Elle's Studio | Family Fun | Tarrah McLean

Hi there Sassy Scrappers!

It's Tarrah McLean back with you and today I am excited to share a new layout created using the awesome Elle's Studio 'Family Fun' collection! This is my last layout using this collection, I have created 6 layouts all together using it and I love how they turned out!

I had some of that gorgeous chevron paper left over and decided I wanted to use some to back a star cut file....the cut file is from Just Nick Studio and I cut it out of white cardstock, I then went ahead and backed lots of the stars with the papers....I absolutely love how this turned out!

Once the stars were all backed I then adhered it in to place on the background paper. I chose a couple of those awesome journal cards to mat my photo and I knew I wanted to include that grey tag on this layout too! 

Embellishing was super easy with the puffy stickers, acrylic shapes, wood veneer and ephemera all being used to embellish this layout! A few splatters of mist and the date stamp finish off my layout!

Thank you so much for stopping by the Sassy blog today!

Stop by the Sassy store and grab this gorgeous collection before its sold out!

Happy creating!


    Family Fun - Acrylic Shapes        Family Fun - Double Sided Journalling Cards 10pk
        Family Fun 12x12 Double Sided Paper - Paper 4      Family Fun Bits and Pieces 48pk

              Family Fun Puffy Stickers        

09 10